Writing is a major aspect of human lives irrespective of the variation in languages. Indeed, one of the ways your proficiency in a language is tested is by how well you can write words, sentences, and paragraphs. Consequently, English as a global language prioritizes writing as a skill used to communicate ideas across different settings.
There are, however, certain guidelines that must be complied with which includes the use of paragraphs. Agreeably, people struggle with writing different ideas into a paragraph, repetition as well as the absence of reasons to support their arguments. In all this, it is critical to know how to begin a new paragraph.
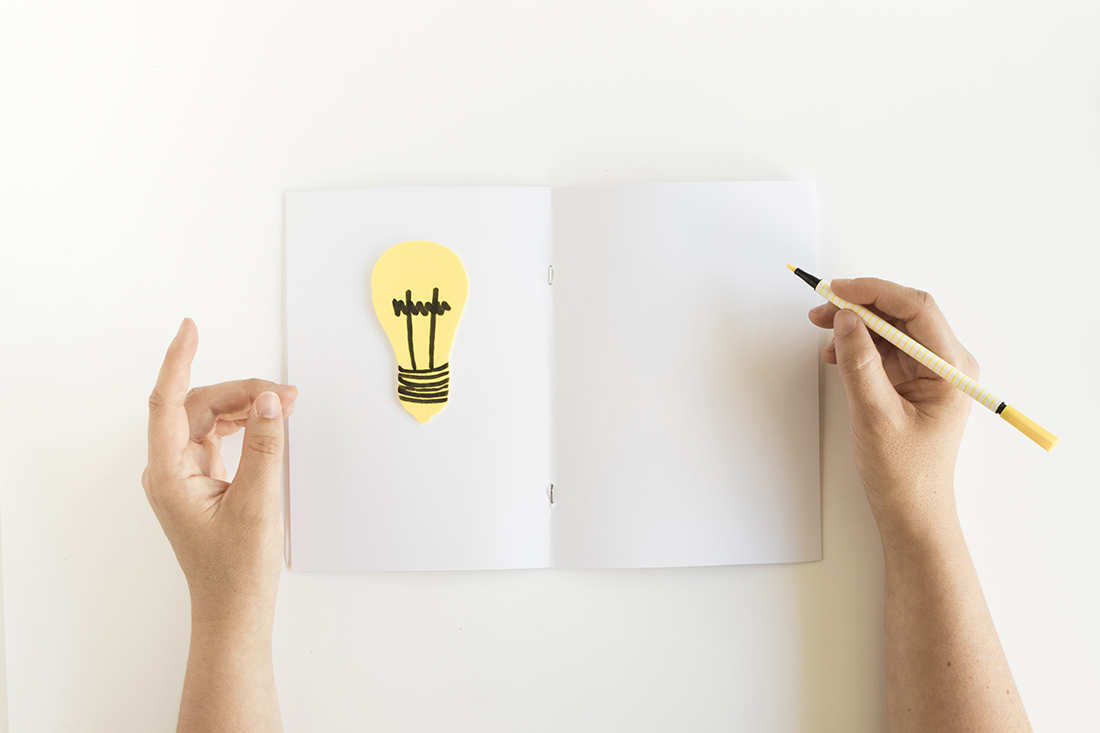
Understanding the concept of a paragraph
A paragraph consists of sentences that address a particular topic in your essay. It plays a vital role in maintaining the flow of your drafts. Every paragraph has a topic sentence with details on the topic and coherence between the sentences. If there are several points on a single topic, you can have them in one paragraph as long as it will not be wordy. You do not want to have a complicated essay that readers cannot understand at first read.
Further, people use transitions to support coherence when writing an essay. This is because it is important that the readers easily understand the topic. Hence, in starting a paragraph, you can use transitions, start writing your first sentence, and allow your thoughts to flow.
This guide addresses the key elements to look out for in starting a new paragraph, particularly as relates to essay writing.
Key elements for starting a new paragraph
How to start a paragraph in an essay is determined by several factors, including the use of transitions. Nonetheless, you need to be able to give your readers time to assimilate the information you have shared while preparing to digest more details.
A paragraph creates the needed break and improves your organizational structure in essay writing. If the idea, time, person, or location has changed in the course of your essay writing, then you may consider starting a new paragraph. This prevents a situation where your ideas are mixed up making it impossible to drive home your point.
When should you start a new paragraph?
Every student is expected to write an essay at one point or the other in their academic life. However, it is not always easy to know when you should be starting a new paragraph. Generally, when to start a new paragraph in an essay is tied to the introduction of a new idea or focus point. On some occasions, it is the shift in direction that influences the writer’s decision to start a new paragraph. The big question is, ‘How do you know when to start a new paragraph?’
New paragraphs help support a shift of ideas in your essay and as such, you may consider starting a new paragraph under the circumstances listed below:
- When you need to introduce your readers to a new idea
- When you start the introduction, body, or conclusion of your essay.
- When it becomes necessary to offer your reader a break to better assimilate the essay.
- When you need to make a contrast or present different points to support your essay topic.
Paragraphs can also be used to create a dramatic effect in your essay. It is occasionally used for emphasis in an essay. There are other instances you may think of, but you must bear in mind that no matter how subtle the shift may be, it is essential to observe the paragraph breaks in your essay writing.
Conclusion
Whenever you have the thoughts, ‘when do I start a new paragraph?’ or ‘Is it a good time for a paragraph break?’, remember that paragraph writing is a skill. No one is born knowing how to start paragraphs because we paper written learn and become better with practice.